Compact and Lightweight
Inspire 2 Boson mount
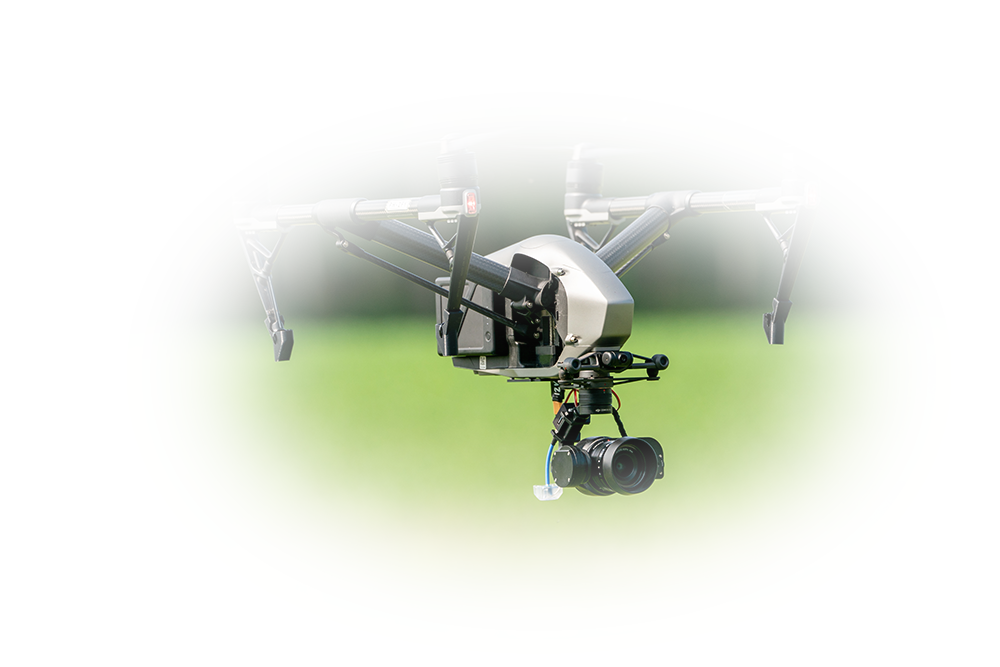
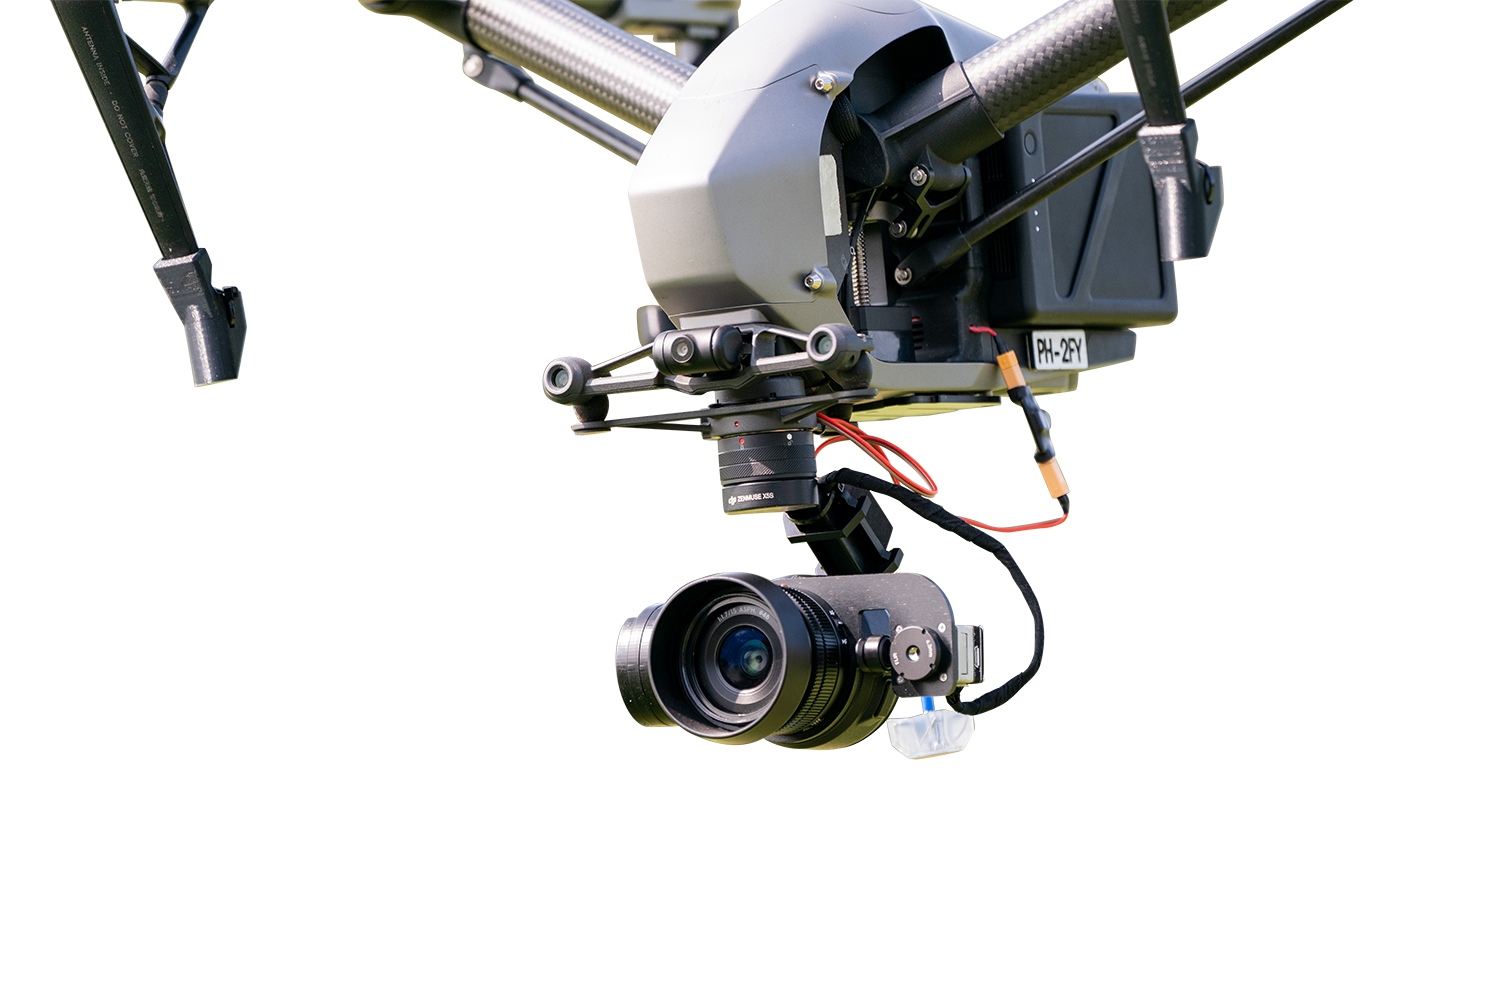
The FLIR Boson camera is mounted as a "slave" on the Zenmuse X5S camera of the Inspire 2. This means that the FLIR Boson camera is stabilized and always looks in the same direction as the Zenmuse X5S camera.
Boson mount
'Do it Yourself'
for own DJI Inspire 2
-
DRONExpert Boson mount
-
FLIR Boson 320 camera (Professional grade)
-
FLIR control buttons on mount
-
DVR recorder on mount
-
5.8Ghz video transmitter/receiver
-
Double camera setup (RGB/thermal)
-
7" thermal LCD receiver
-
DVR recorder on 7" LCD
-
Connection material
-
Carrying case
-
Manual
-
-
-
Boson mount
'Ready to Fly'
including DJI Inspire 2 and Zenmuse X5S
-
DRONExpert Boson mount
-
FLIR Boson 320 camera (Professional grade)
-
FLIR control buttons on mount
-
DVR recorder on mount
-
5.8Ghz video transmitter/receiver
-
DJI Inspire 2
-
DJI Zenmuse X5S (incl. 16mm lens)
-
Double camera setup (RGB/thermal)
-
7" thermal LCD receiver
-
DVR recorder on 7" LCD
-
Connection material
-
Carrying case
-
Manual
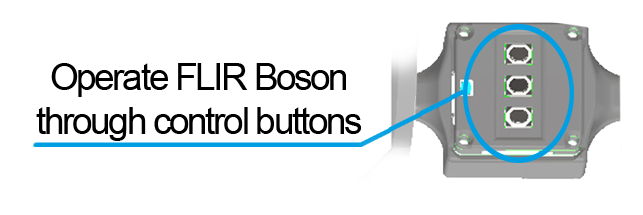
Buttons for setting the FLIR Boson camera
Pushbuttons
The DRONExpert Boson mount is standard equipped with push buttons with which you can configure the FLIR camera pre-flight.
With these push buttons you can adjust the following options:
- Color palettes
- Digital zoom
- Start stop recording
- Conditions (adapt to changing weather conditions)
- Scenes
- Presets
- Color settings
- Camera settings (crosshair etc.)
No additional batteries required
Battery supply
For optimum performance, the power cable is installed inside the drone, which leads to the mount receiving its power by the drones battery. This way weight is being saved optimally and a maximum flight time is achieved.
The thermal package can be supplied completely ready to fly, but can also be used for installation of your own drone and/or camera. It is advisable to have DRONExpert Netherlands carry out the installation of the power supply cable if you opt for an "DIY installation package".
However, if you wish to perform the installation yourself, we can optionally provide the thermal mount with its own battery so that installation can easily be realized (the weight of the mount will be somewhat higher).
Simultaneously realtime daylight and thermal view
Double camera setup
The thermal drone setup is equipped with dual cameras (RGB/thermal). This means that you have daylight and thermal imaging at your disposal simultaneously.
The thermal image is very suitable for detection and the RGB image is perfect for recognition.

FLIR control at your fingertips
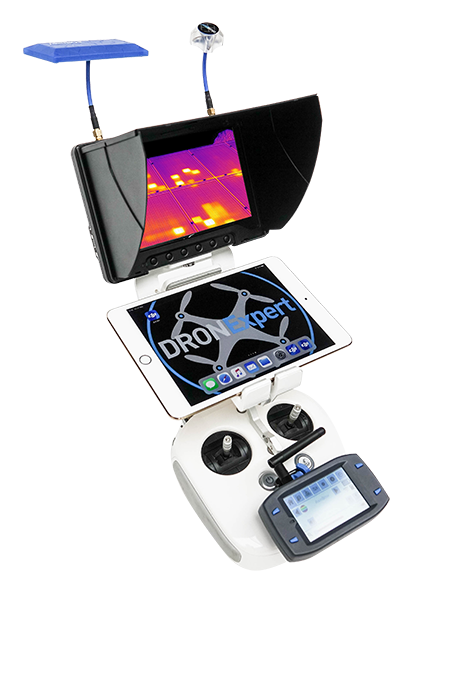
DRONExpert capacitive touch remote
Optionally, you can expand the DRONExpert Boson mount with the DRONExpert capacitive touch remote.
With this remote you can operate the FLIR Boson camera at (long) distance. You can operate the following functionalities remotely
- Tilt
- Color palettes
- Digital zoom
- Start stop recording
- Conditions (adapt to changing weather conditions)
- Scenes
- Presets
- Color settings
- Camera settings (crosshair etc.)
For each country correct legal power output
Adjustable frequency / Band / Power
- Frequency
- Band
- Power output 25/200 of 600mw (the stronger the power output, the further the video signal)
Inclusief
What is included
The following parts are included
- DRONExpert Vue Pro Mount with integrated 5.8Ghz transmitter
- FLIR Boson 320 camera (Professional/Performance grade)
- Pushbuttons on the boson mount (boson camera settings)
- 7 ”thermal LCD for real-time thermal video display
- Handheld for thermal LCD
- Connection cables
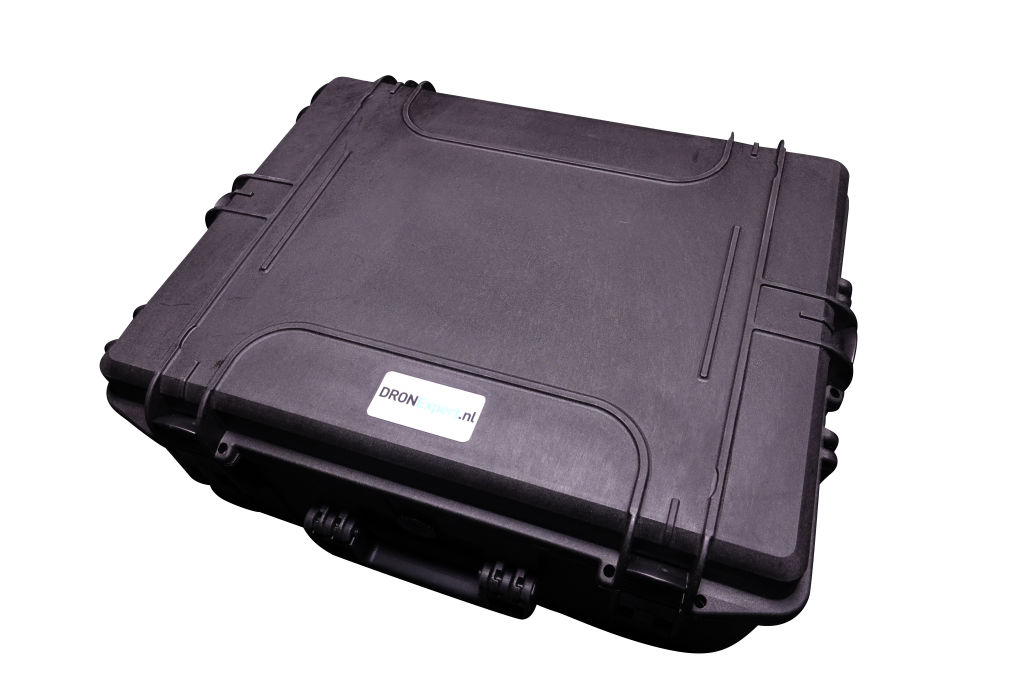
- Compact carry case
Boson camera always looks in the same direction
Slave mode
The FLIR Boson camera is mounted as a "slave" on the Zenmuse X5S camera of the Inspire 2. This means that the FLIR Boson camera is stabilized and always looks in the same direction as the Zenmuse X5S camera.


